OpenDesk Admin Manual
I. Overview
OpenDesk is an open source VDI management system based on Proxmox.
II. Login
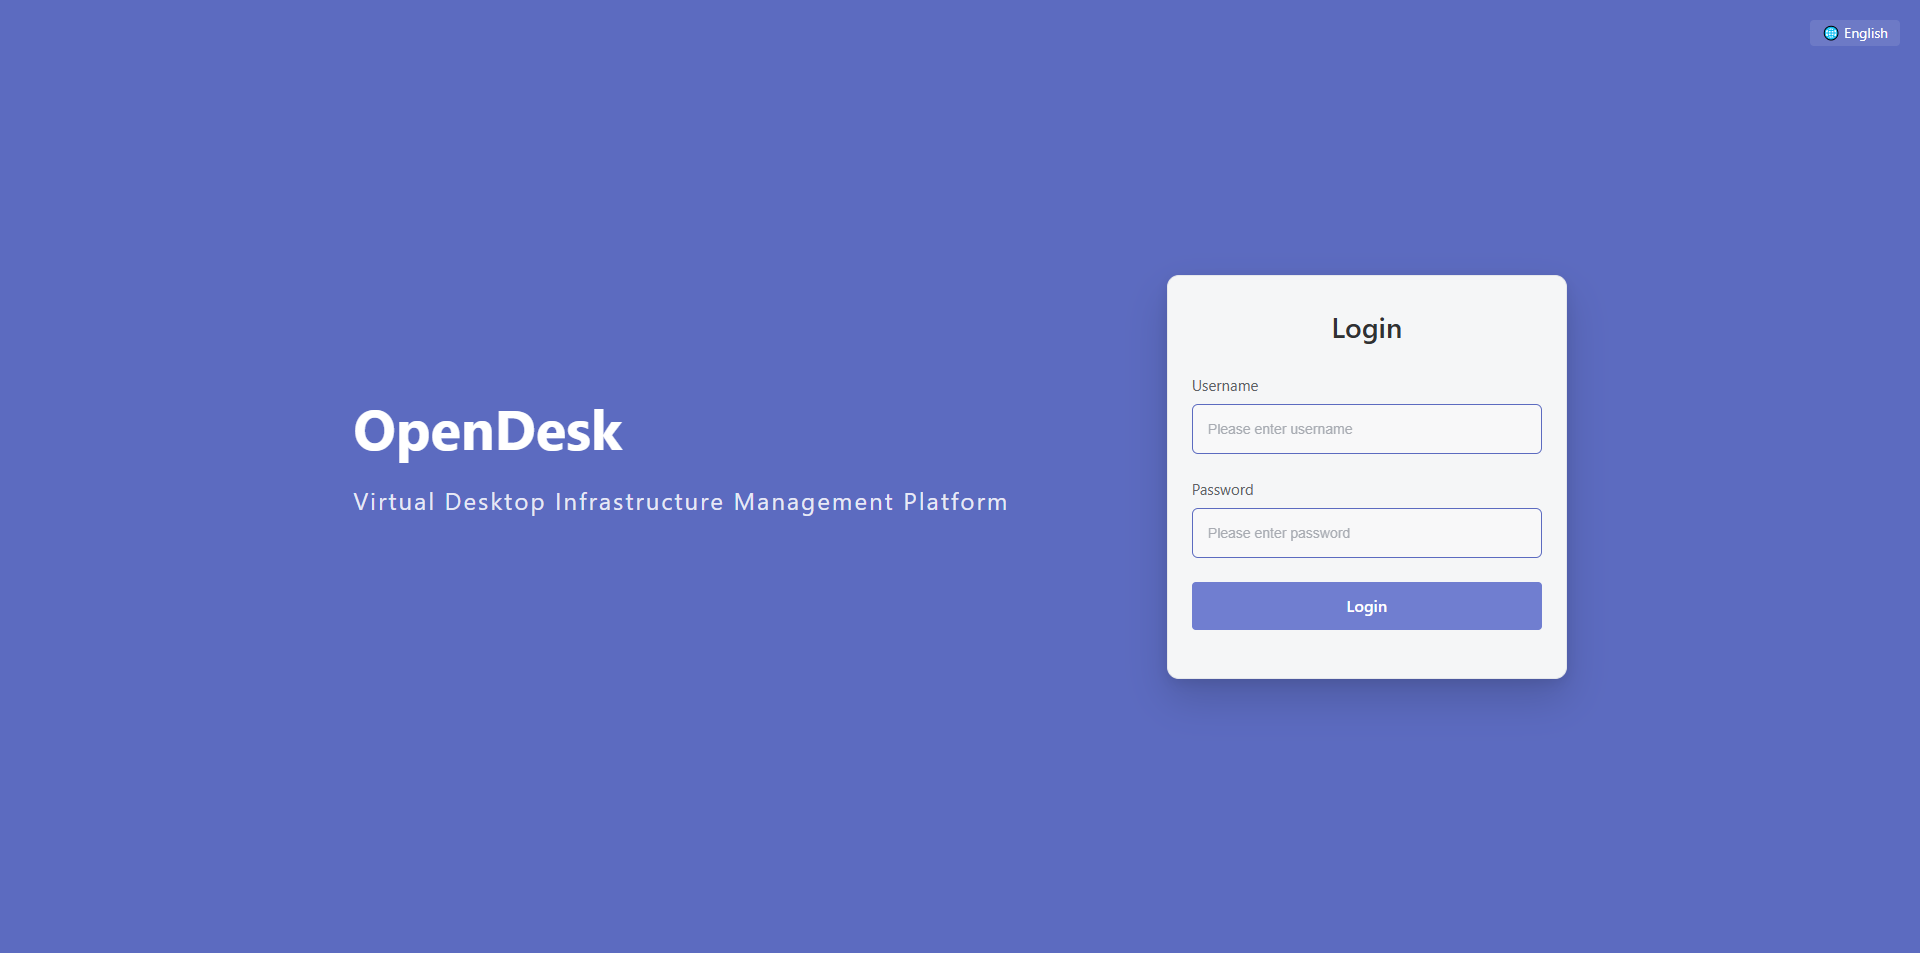
Enter the IP address of the OpenDesk virtual machine in your browser to log in. Default username: admin, default password: opendesk. Supports English, Japanese, Chinese (Simplified), and Chinese (Traditional) languages.
III. Configure Proxmox
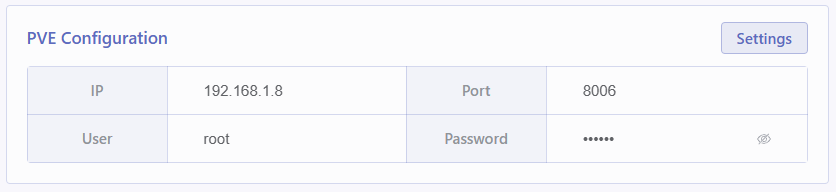
Enter the relevant parameters in the PVE configuration under System Settings, then save and the virtual machine will automatically restart to take effect.
IV. Configure Management System IP
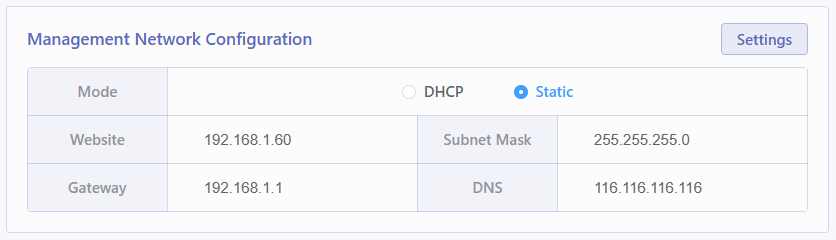
Enter the relevant parameters in the Management Network configuration under System Settings. Static mode is recommended. Save and the virtual machine will automatically restart to take effect.
V. Configure Gateway Proxy
Gateway proxy service is enabled by default. For connection security, even if the gateway configuration is empty, the default connection will still use the gateway. Users only need to configure TCP ports in the firewall. Note: Fill in the external proxy information.
Example:
Public proxy: https://192.168.1.60:9443 -> https://qianian012.uunat.com:9443
Internal proxy: https://192.168.1.60:8443 -> https://192.168.1.71:8443
Note: If using nginx proxy, please use nginx-full stream mode.

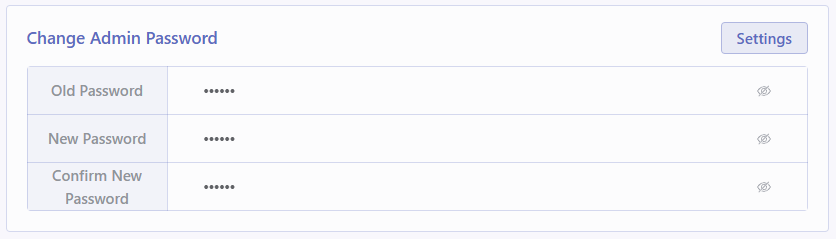
VI. Change Admin Password
Note: If you expose the service to the public network, be sure to change the admin password.
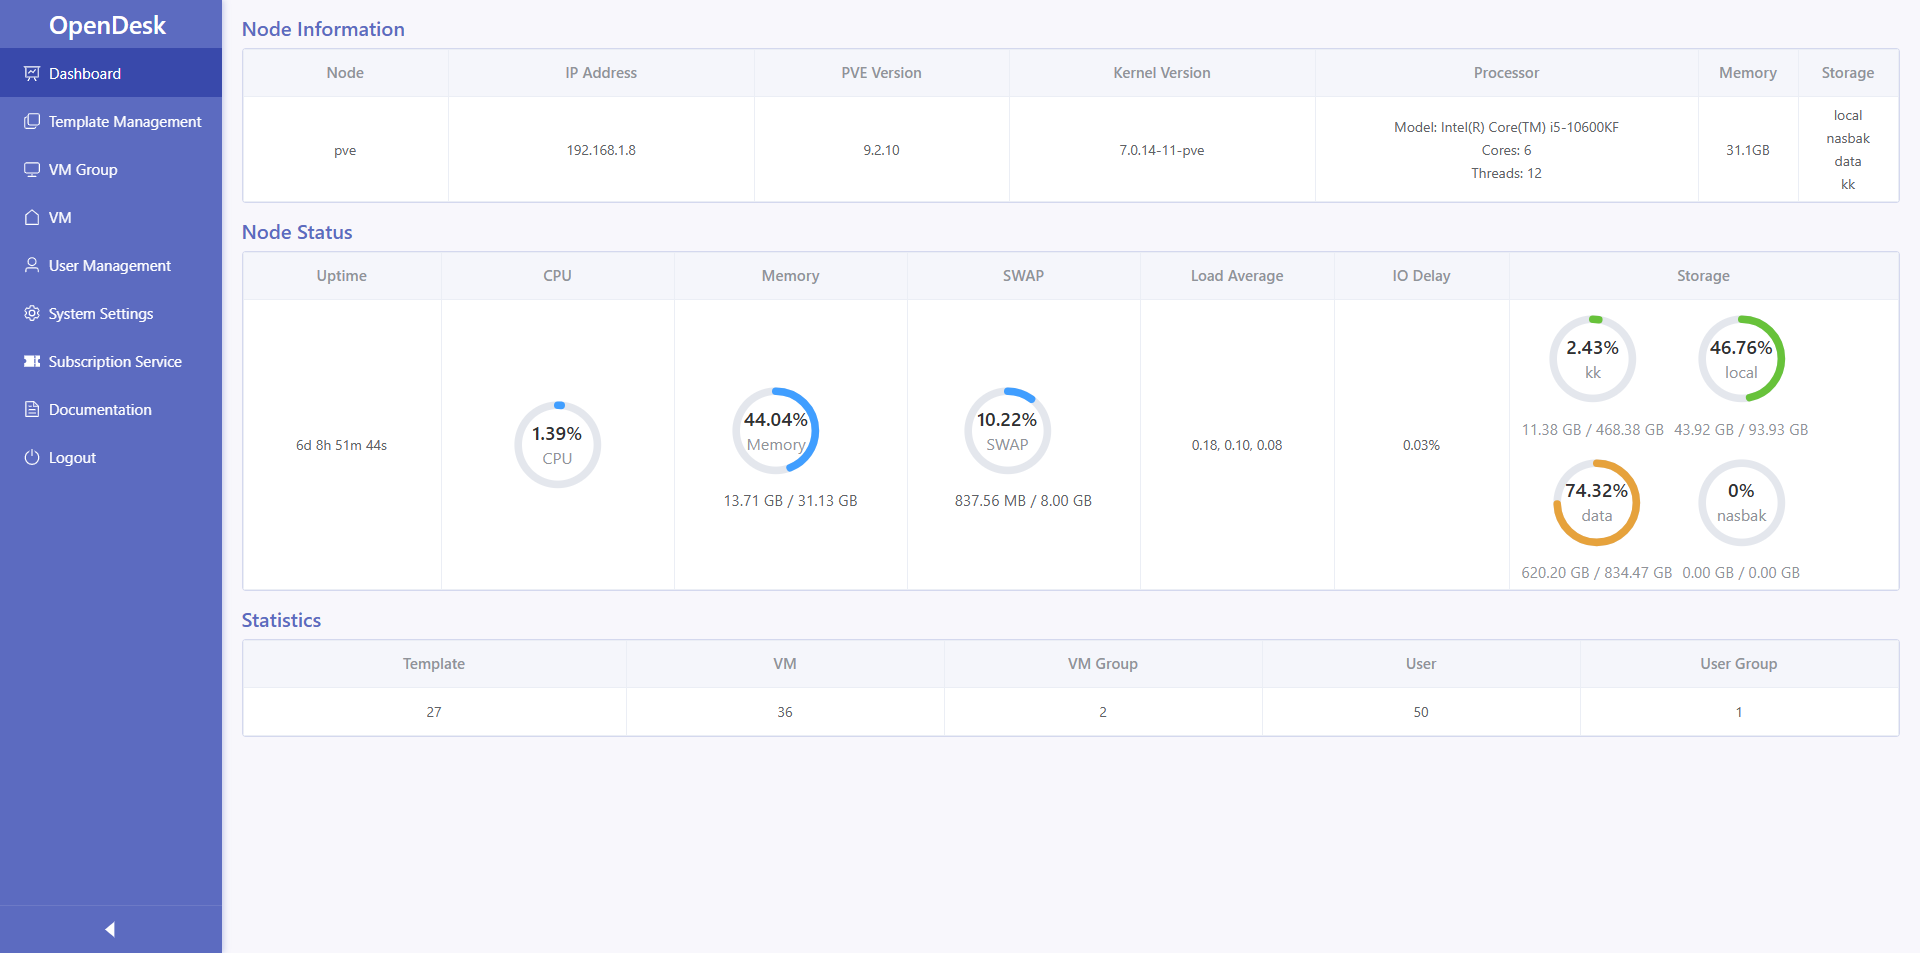
VII. Dashboard
View Proxmox running information.
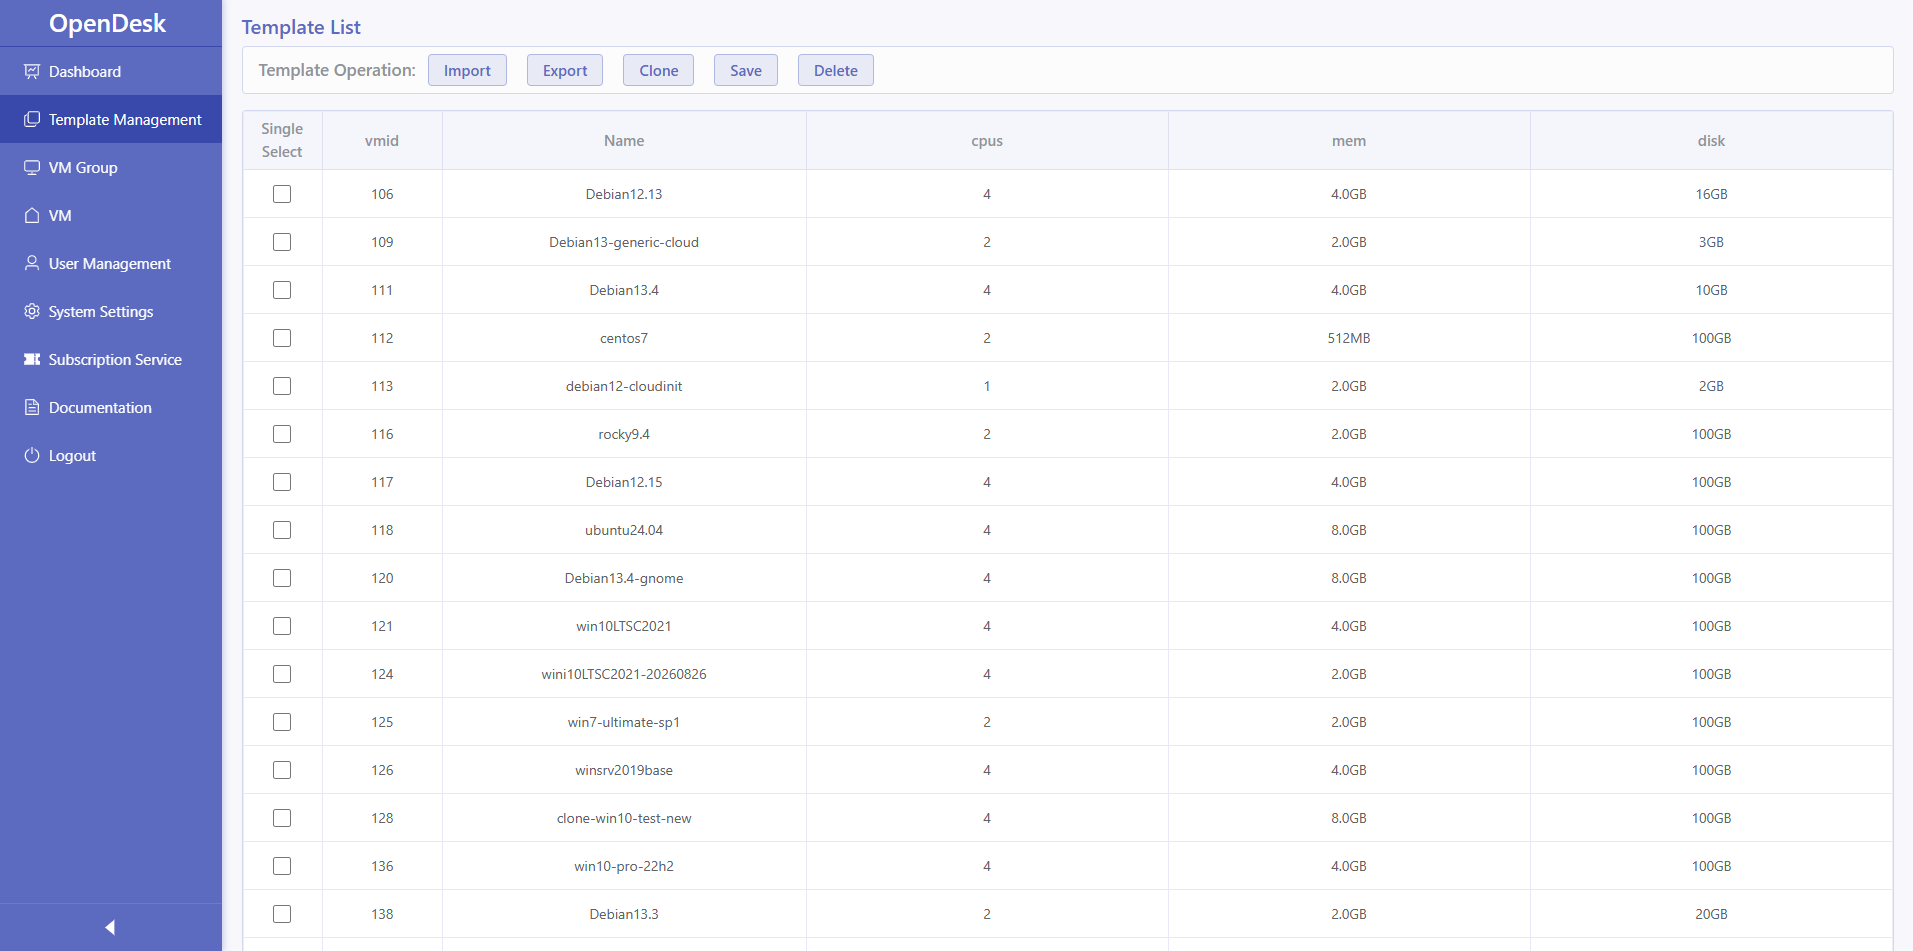
VIII. Template Management
Import, export, clone, and delete templates are supported.
Import: Upload a template or virtual machine backup file and restore it as a template in PVE.
Export: Export a PVE template as a backup file.
Clone: Fully clone a template into a new virtual machine, allowing the admin user to log in via the client and install software in the virtual machine.
Save: Convert a cloned virtual machine into a template.
Note: Import, export, and clone operations take a long time, please be patient.
IX. VM Group Management
Group VMs for batch management. Supports create, restore, rebuild, and delete operations.
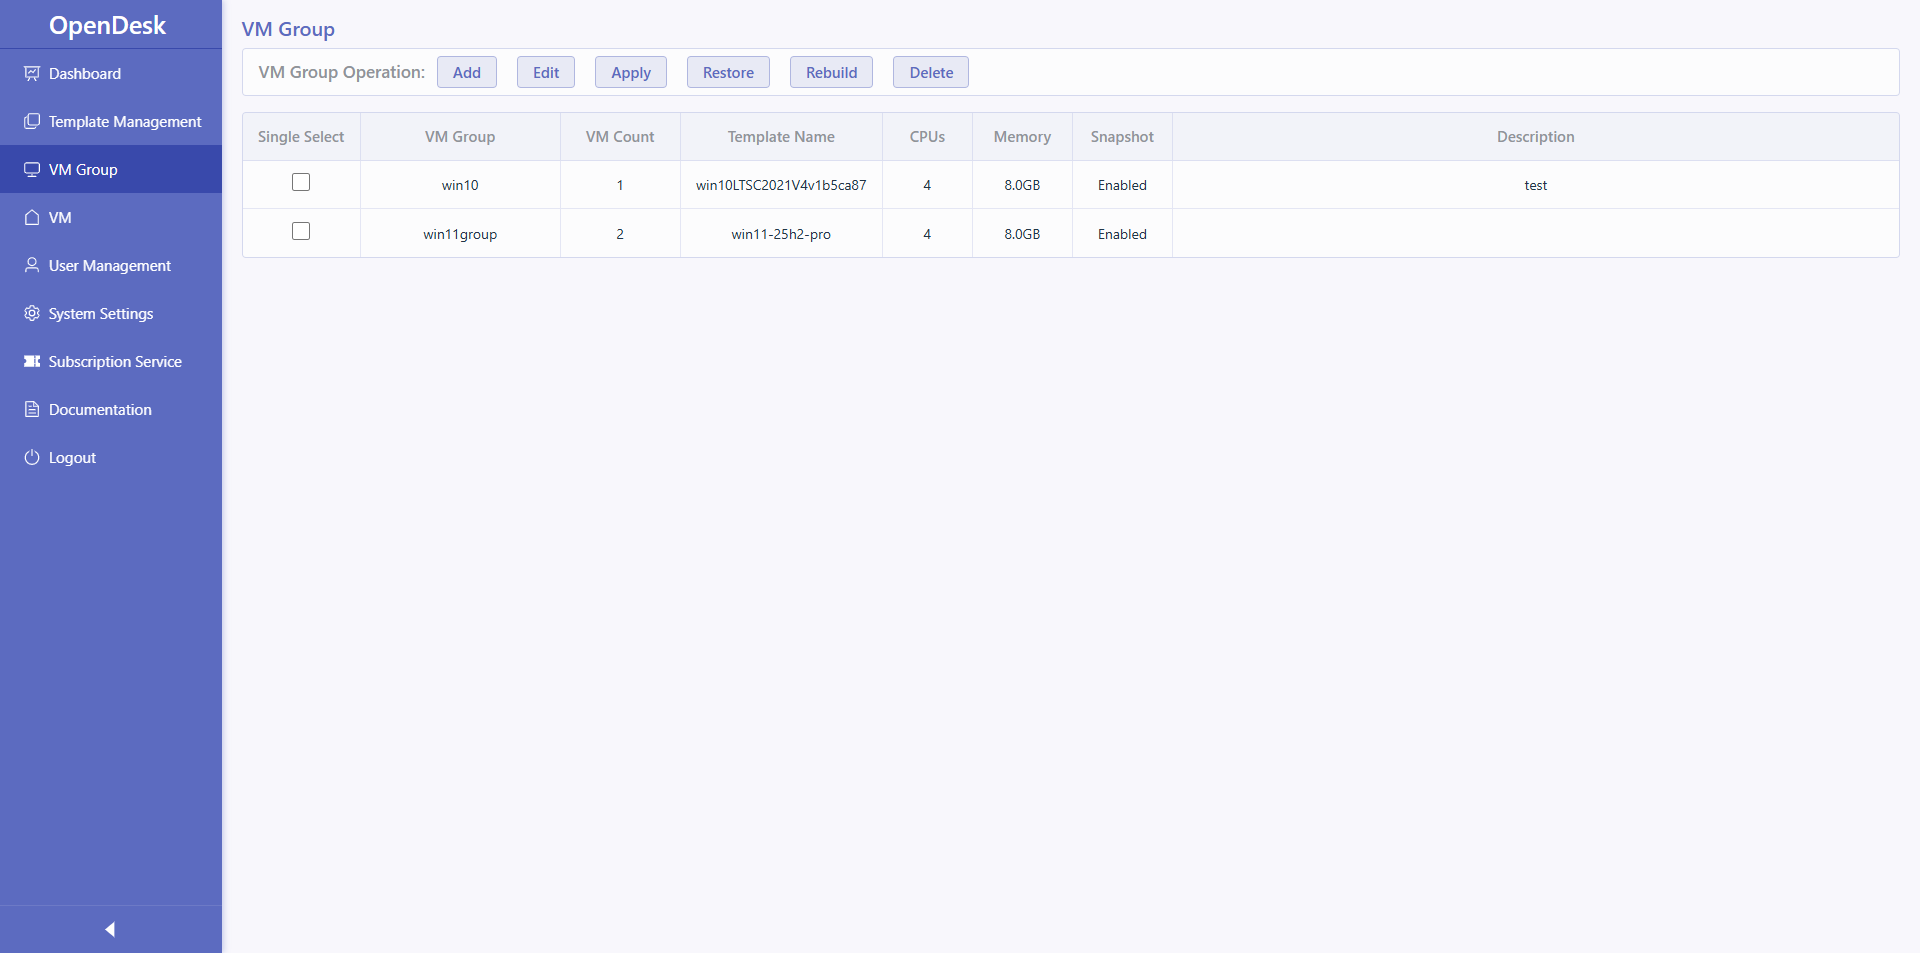
Add VM Group
Click the Add button to add VM group information.
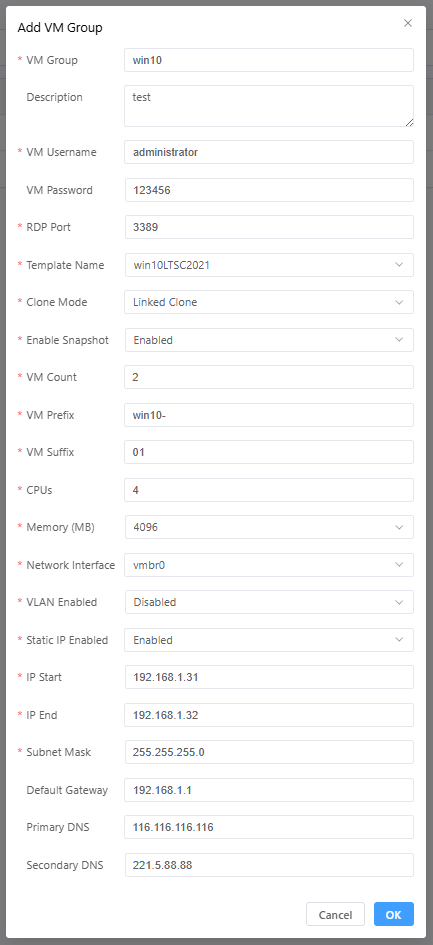
Note: If the VM password is empty, a 16-digit random password will be generated. Random passwords are recommended.
Apply VM Group
Select the VM group to create and click the Apply button to start creation according to the configuration.
Restore VM Group
If the VM group has snapshots, click the Restore button. All VMs in the VM group will be restored.
Rebuild VM Group
Click the Rebuild button. All VMs in the VM group will be deleted and recreated.
Delete VM Group
Click the Delete button. All VMs in the VM group will be deleted.
X. VM List
View the running status of all VMs and perform operations on VMs.
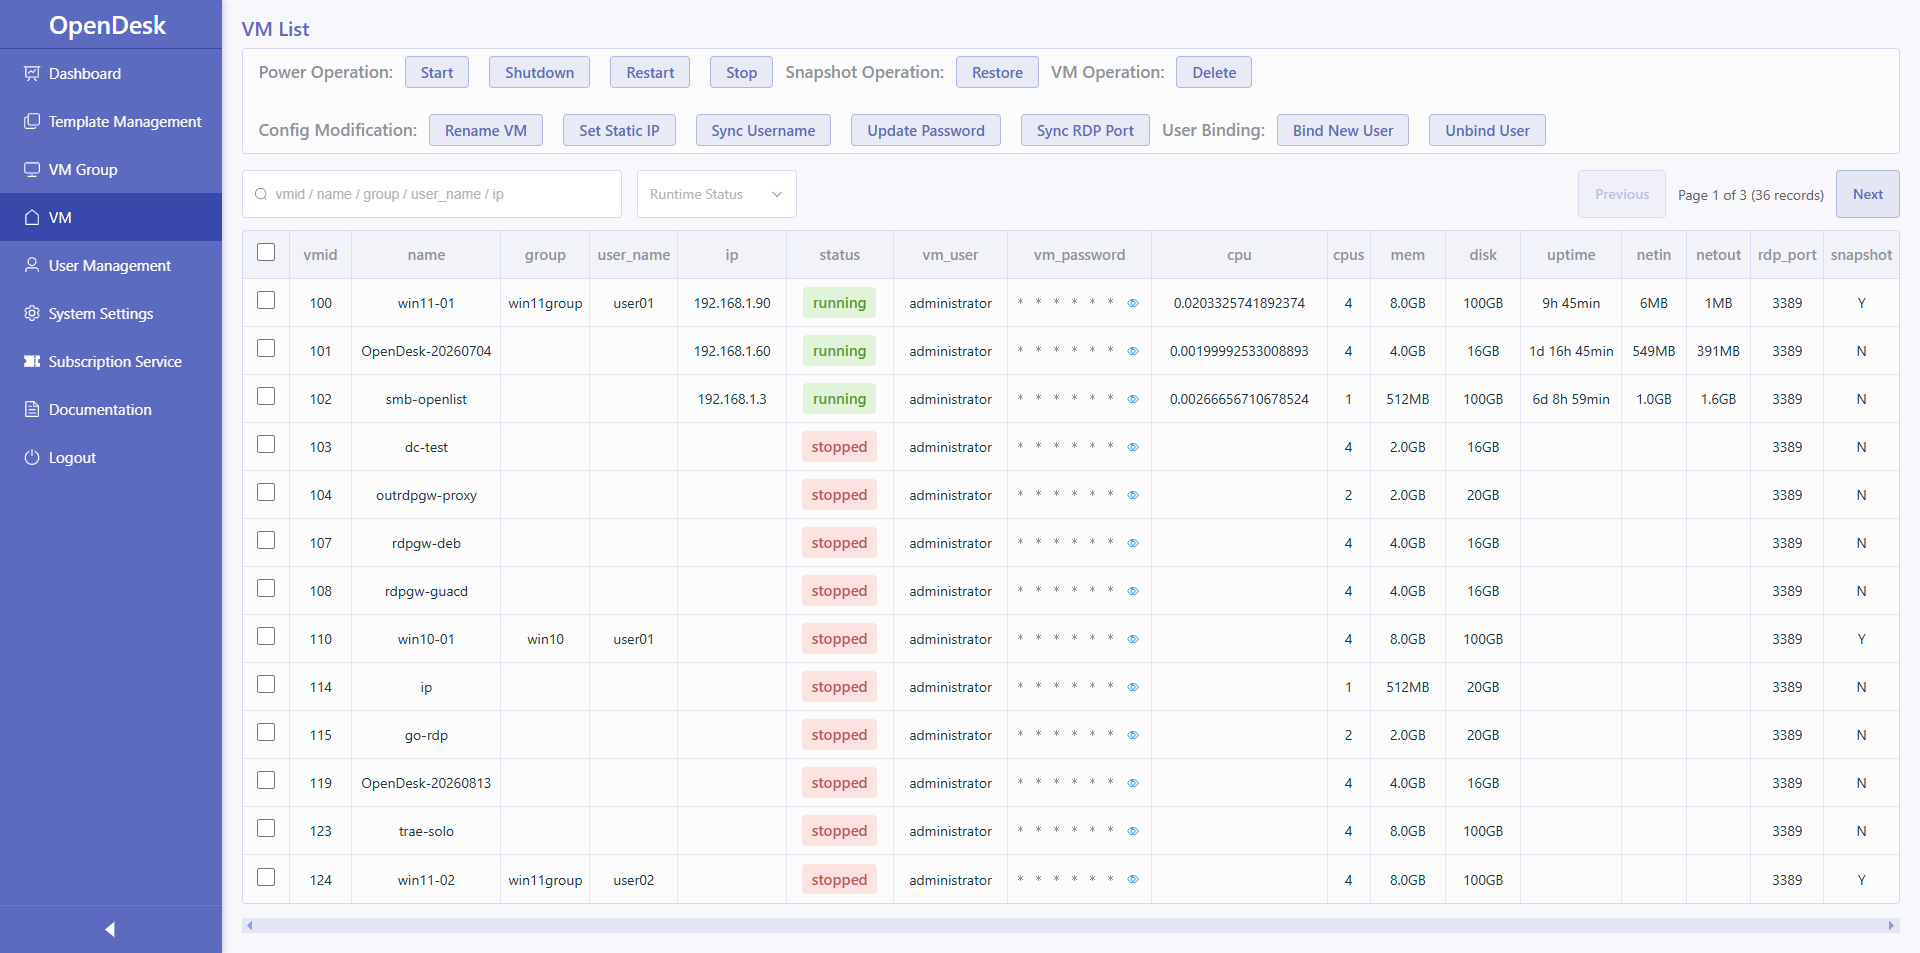
Note: Sync username and sync RDP port will not modify VM configuration, only sync related configurations in the database.
XI. User Management
User group management for unified administration.
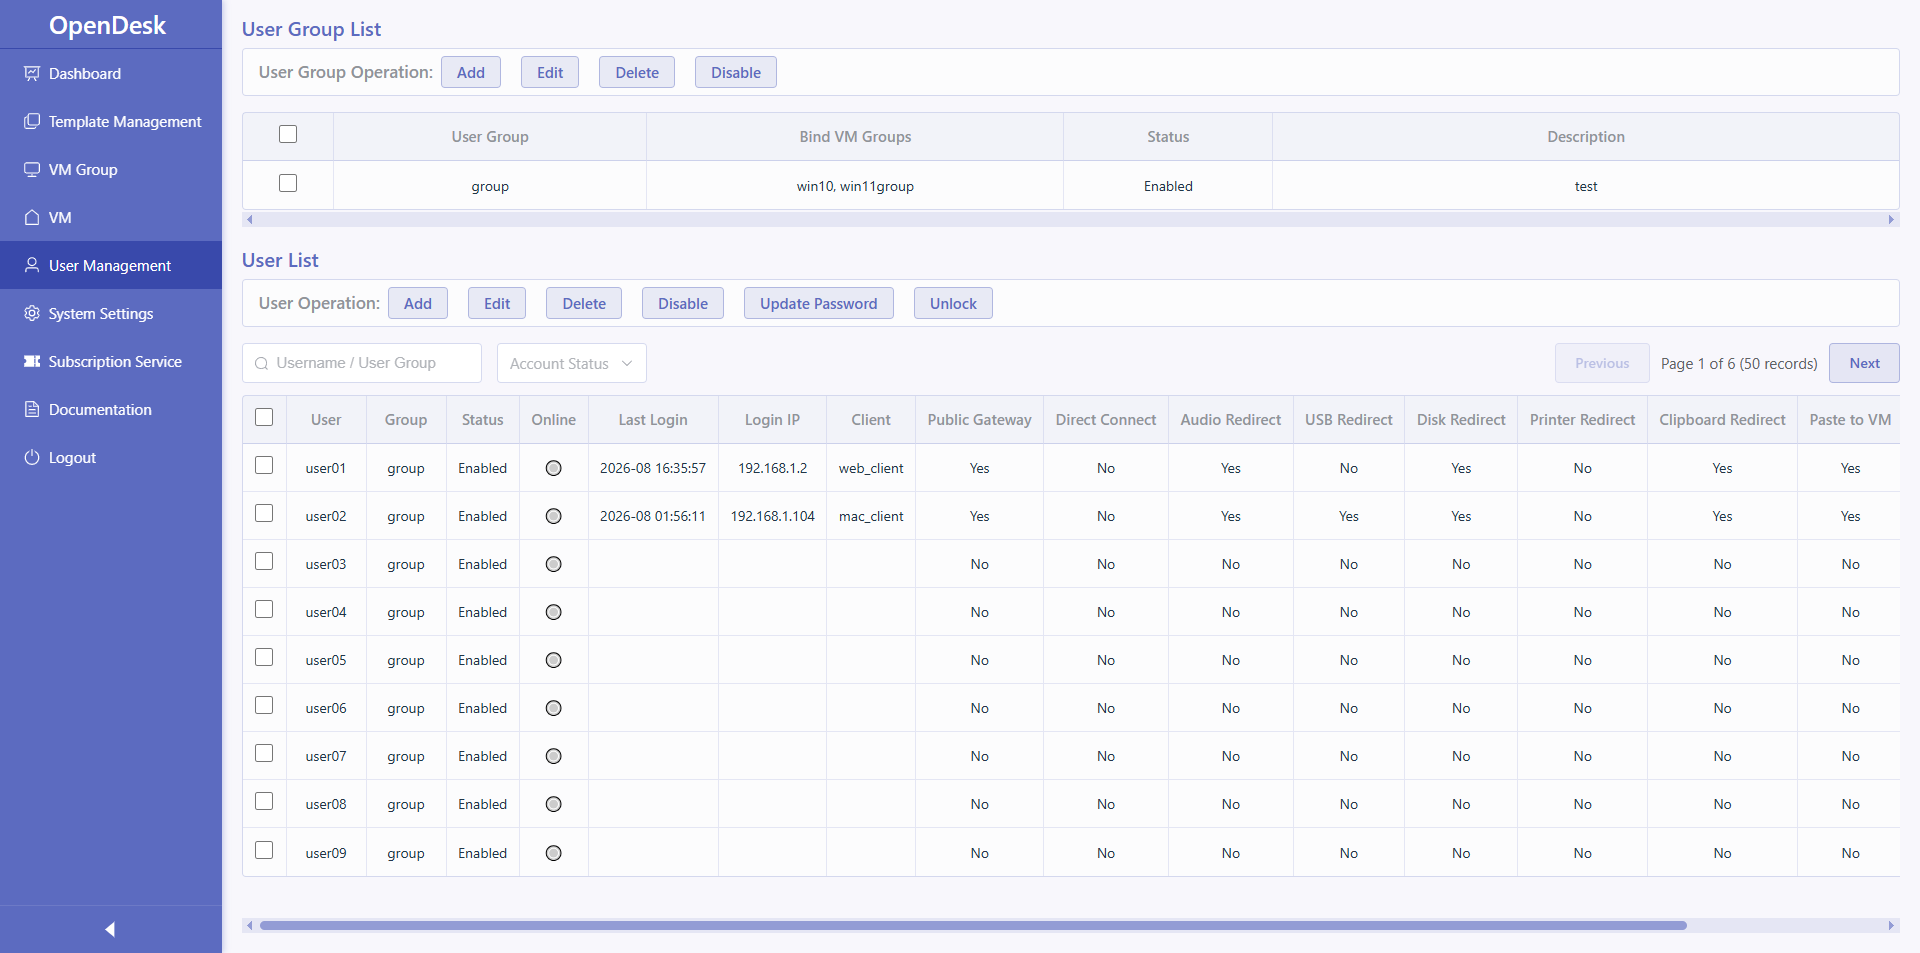
Add User Group
Add a user group and bind it to a VM group.
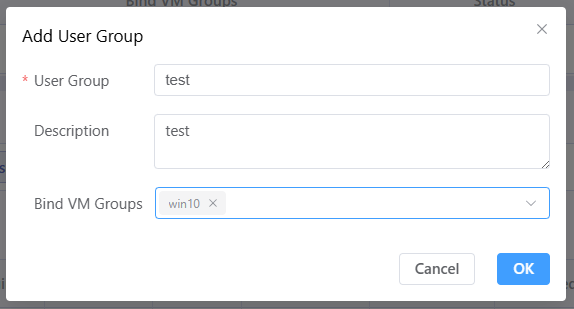
Edit User Group
Edit user group configuration.
Delete User Group
Delete user group.
Disable/Enable User Group
Disable or enable user group.
Update Password
Update user password.
Unlock
Unlock a locked user.
Add Users
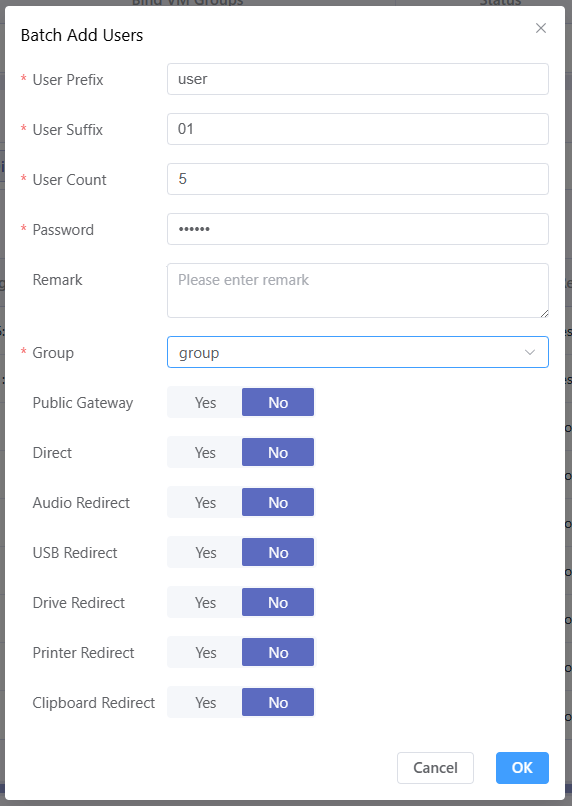
Batch add users, bind to corresponding user groups, and configure connection policies.